
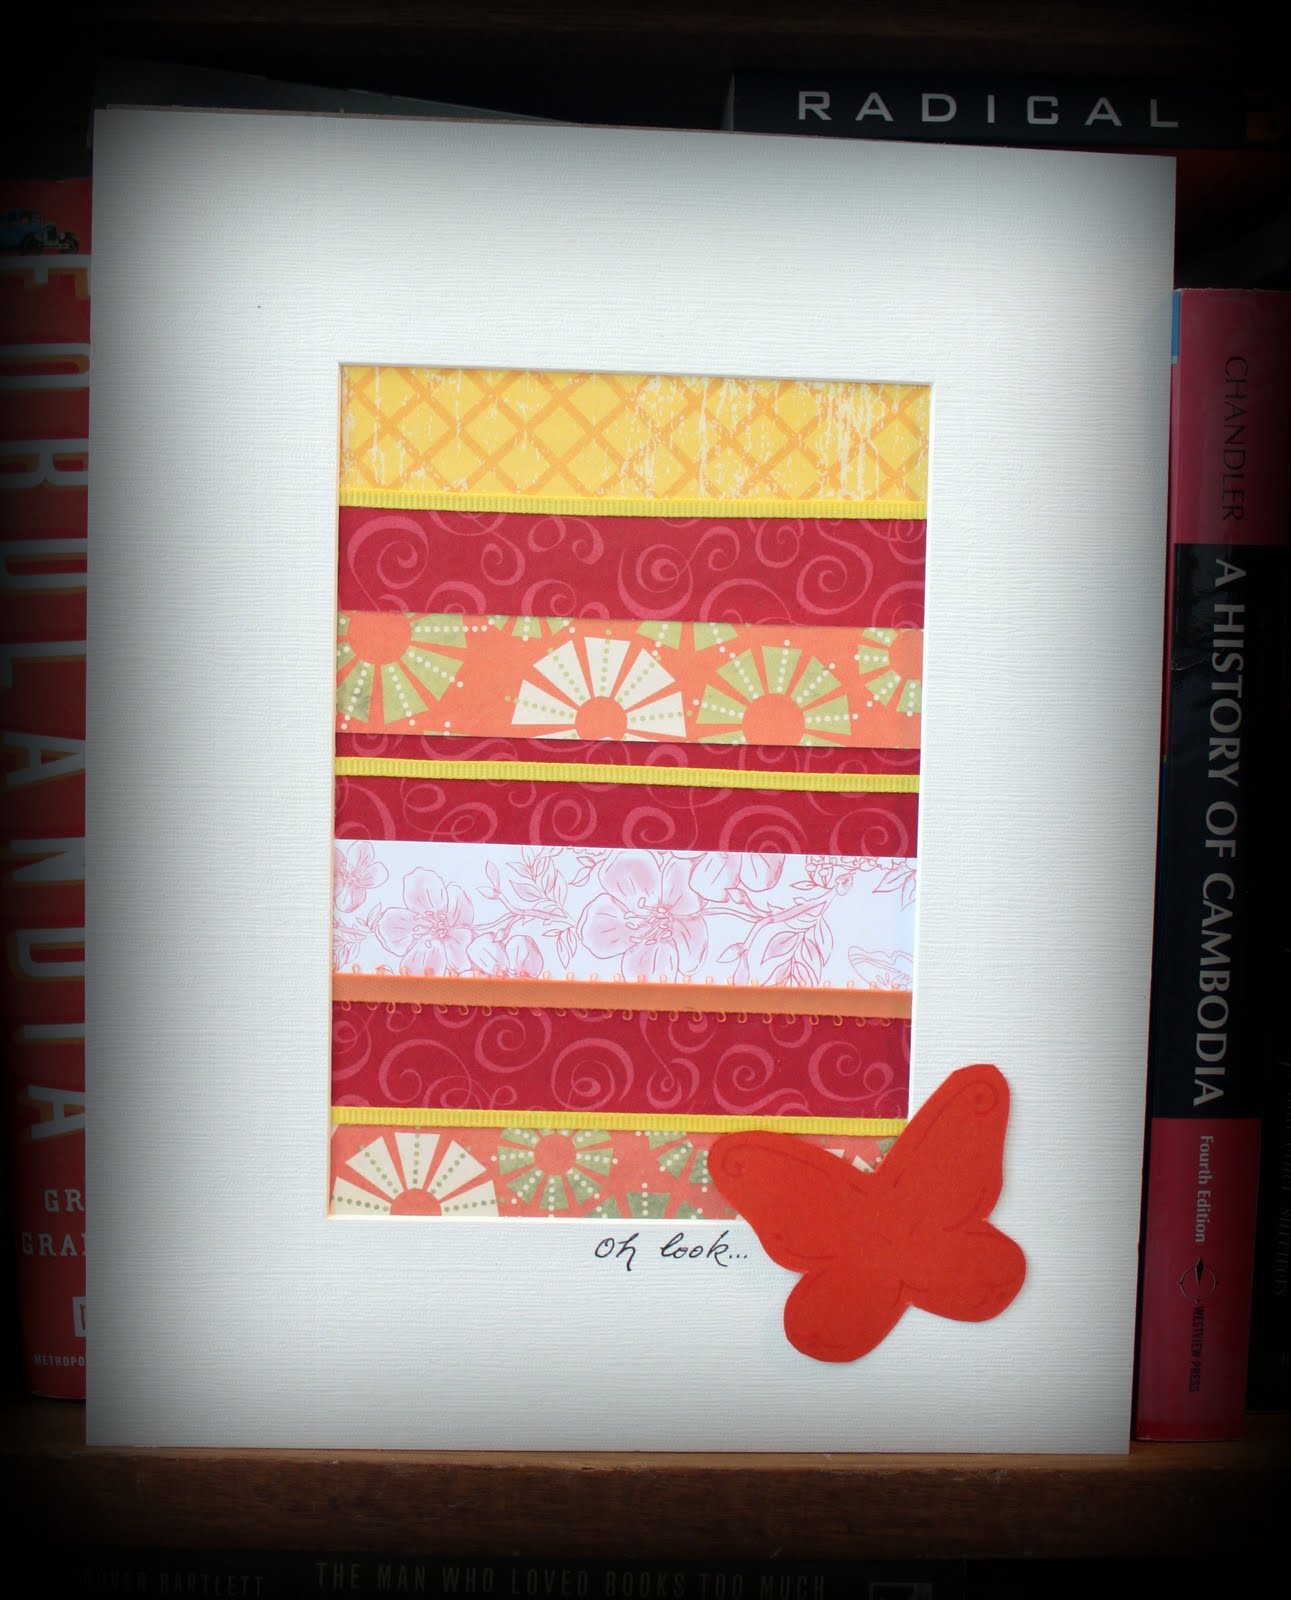
 Hi, welcome back. Remember this guy? In Part 1 of our Paper Collages project we looked at the basics of how to put one of these together. Today we'll take a look at some quick ways to adapt this project for different ability levels. So grab your glue and scissors and let's get busy.
The basics of putting this collage together involves cutting strips of paper and gluing them together on a backing board. But sometimes all of that cutting and color and fiddly strips of paper can be too much to process for some of our folks. I used the analogy in Part 1 of looking at a menu full of delicious looking food and not being able to decide what you want to order. Then, of course, you start to feel pressure from your dining companions to hurry up and pick something. You end up flustered. Well, that's not how we want our residents to feel at the end of a group. The last time I did this project, one of the participants, a lovely woman with early but progressing dementia, simply shut down after the paper selection phase of the project. I had limited the choices but there was still more visual input than she was used to and a good bit more talking, laughing and general activity than normal for her. (She came to us from a lovely but small and quiet assisted living facility). She leaned back in her chair, closed her eyes, and stated that she didn't know why she was suddenly so exhausted. A volunteer assisted her to a quieter end of the table under the excuse that they needed more room to spread out and they worked on her project together just slightly apart from all the other activity going on. This is the project she completed. You can see that three paper choices and one ribbon length provides plenty of visual stimulation.

In Part 1, I suggested pre-cutting strips of paper, which is a good way to deal with choice over-load (as well as craft table mayhem). Just pass the baskets of pre-cut paper around the table. You can suggest picking favorite colors, colors of a local sports team, or complementary colors (those across from each other on a color wheel).
I have done this project where the patients selected their paper and did all of the cutting. Some folks can do that without any issues. One of the participants that day, however, was freaking out- literally- because her paper wasn't cut perfectly straight. The burden of her perceived failure at this activity, no matter how much I encouraged her that it was supposed to look "organic", was felt by the entire group.
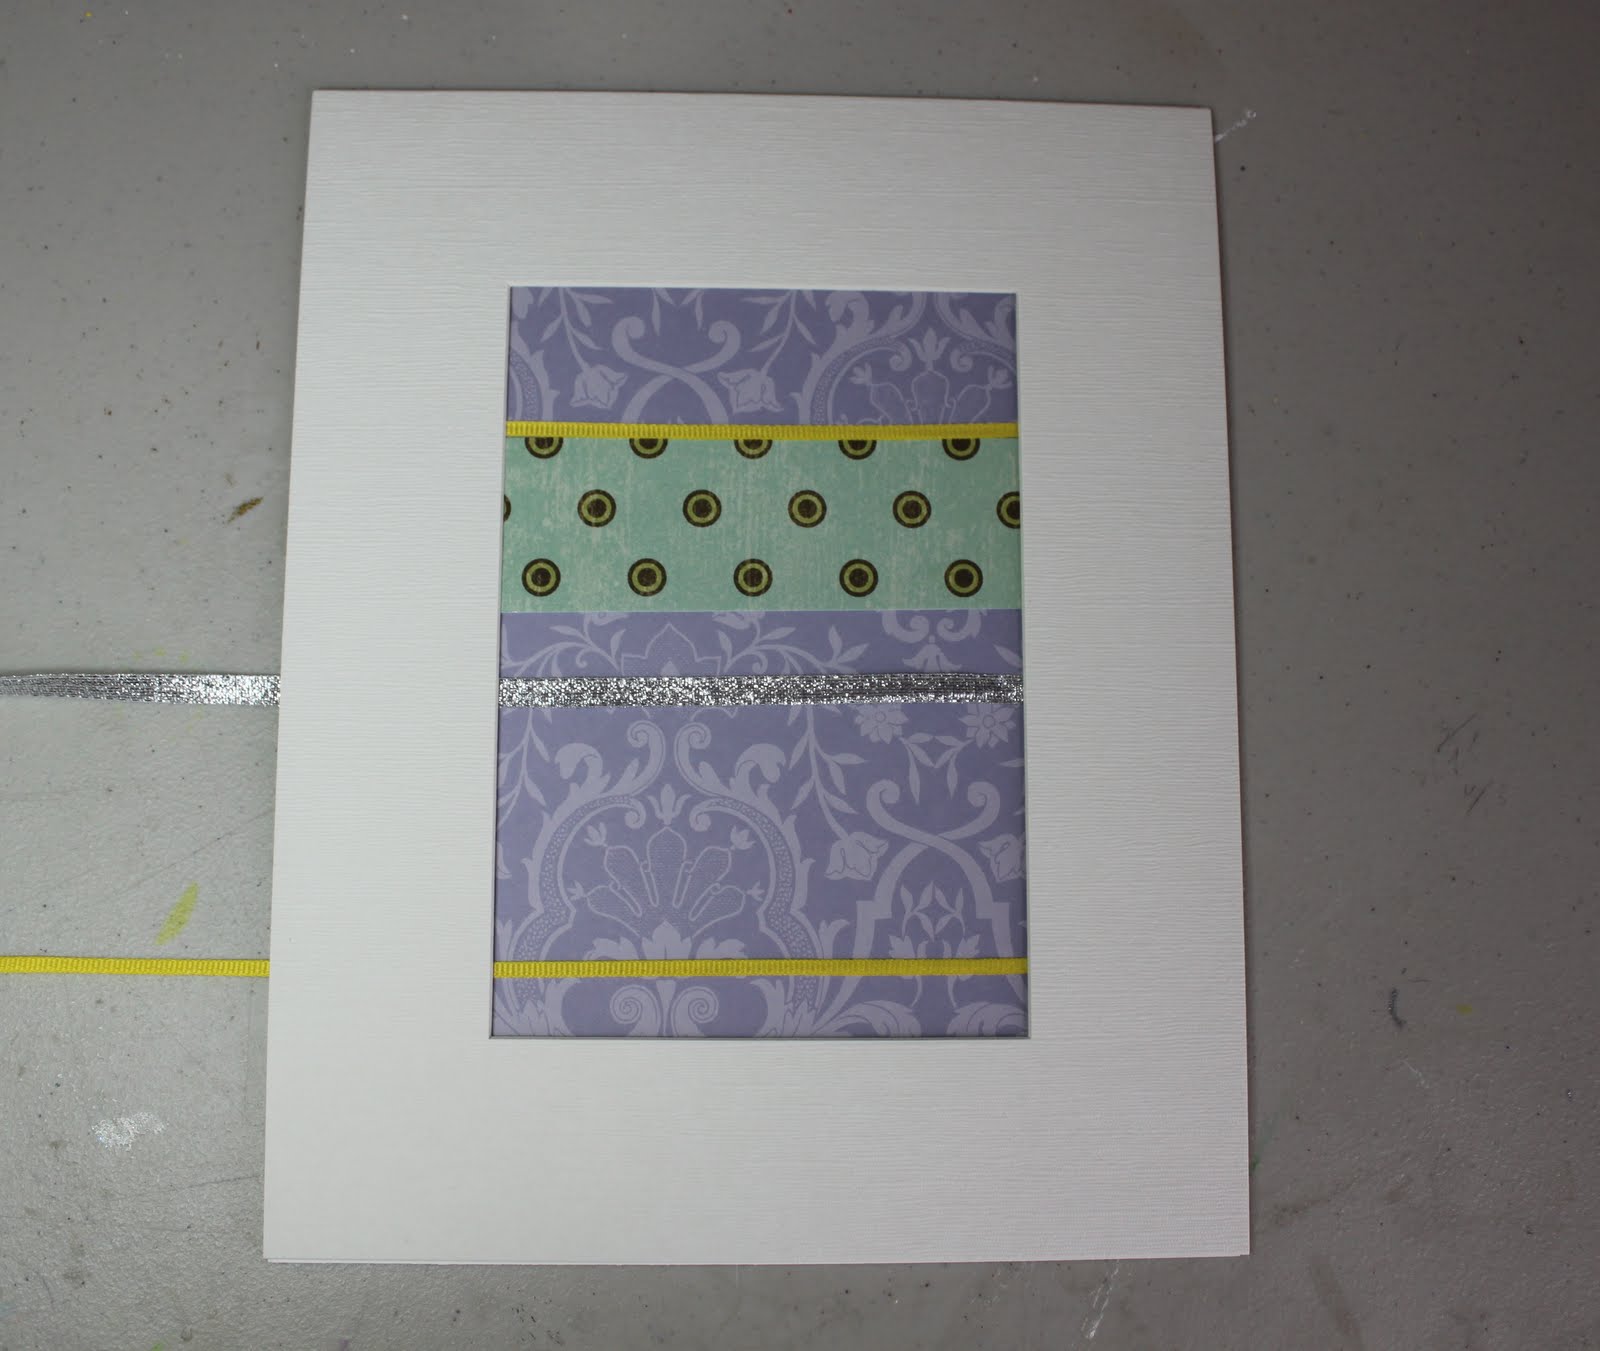
To limit the anxiety of having to make too many choices or manipulate too many strips of paper, consider increasing the size of your strips. Fewer strips would be needed to fill the project. For this collage, we still have three paper choices and some ribbon (my folks were really into the silver ribbon this day, for some reason).

If you need an even more basic approach, it's easy to change up your beginning point. Start with one piece of paper that will serve as the background for the entire collage. This of course requires more pre-cutting but utilize those volunteers and residents who want something to do. Make cardstock templates of the size(s) you need and let them go at it.

From there, you (or the resident) can decide how many strips of paper to add. Three difference papers...

... two different papers...

... or just one paper choice.

From this point you can leave as is or add ribbon. Again one choice/length...

... or more. The sample below shows one background paper, one strip of paper added, and multiple lengths of ribbon. Once you add an embellishment on the front you have a perfectly lovely college.
OK, secrets out- I didn't glue all of these collages together, just layed them out. Conserving resources, going green. Save all of your scrapbook paper, even the small peieces. We'll be using them in the future.
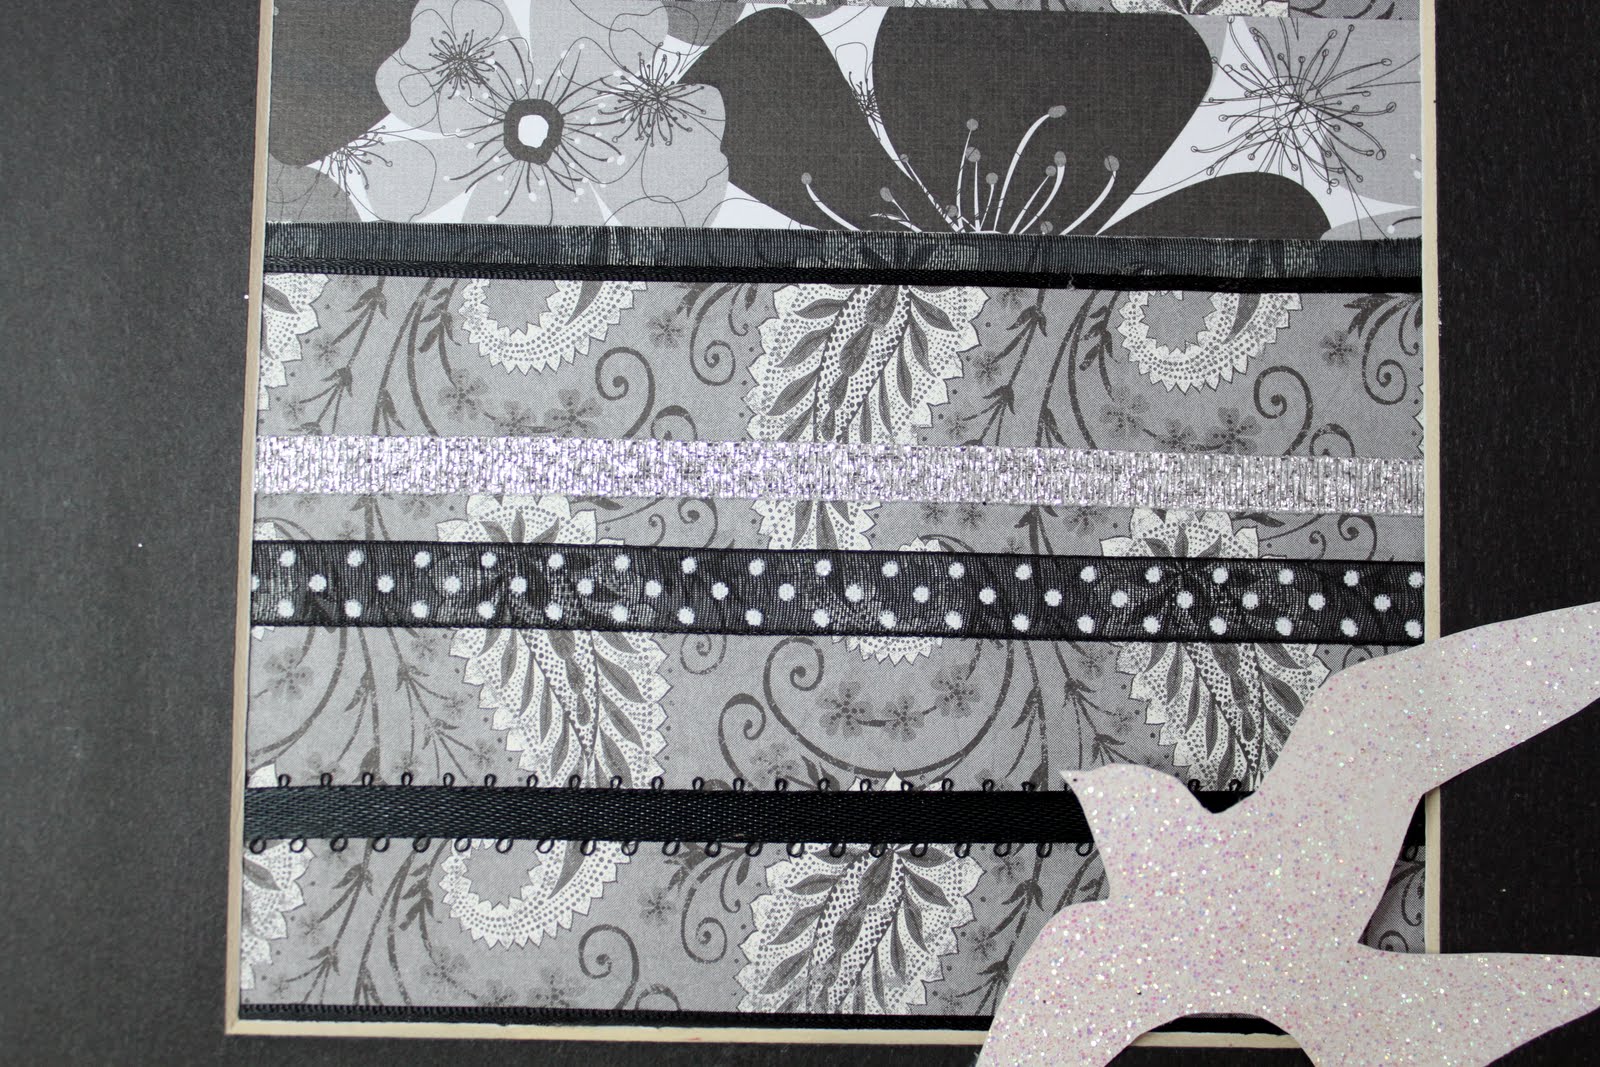
The example below consists of one background paper and two- only two- strips of paper. The shazaam comes in the ribbons.

The two strips of paper are in the top half of the collage. The bottom half of the collage is divided with ribbon lengths. And this is also an example of a monochromatic color scheme, Easy, huh? I guarantee that you have residents who will knock out some incredible collages.
One last suggestion, if you want to eliminate the ribbon or add an option, based upon your groups ability level, you can cut your paper strips with those scissors that cut a decorative edge.

I've shown you all of these options to help arm you for this project, to give you ideas and suggestions that you might offer to your residents. If you think of more suggestions, which I'm sure you will, I would love it if you shared with us.
Just a thought to finish up here today- I like to challenge my patients with the crafts and creative projects we do together. Not all, of course, but so many have never seen anything but the crafts their kids and grandkids bring home, knitting and crocheting, or the funky crafts from the 1960's. Don't get me wrong- all of these crafts are perfectly legitimate and the value of them, like all creative pursuits, lies in the response of the participant. Do they like to do it? Sometimes, patients will look at a project and I can see them ruling it out. They often have a preconceived idea than just because they've never seen it or it looks hard, they conclude that they can't do it. Balderdash! I joke that all of my projects are easy, otherwise I wouldn't be able to instruct them. And they don't need to let on, once they complete a project, just how easy it is. Gently encourage your folks that they can do it. There's no contest at the end of the group for the best project. There are no winners, there is no right or wrong. You've probably already experienced how the most unlikely resident can turn out the most surprising solutions and ideas. And don't you just love it when a resident looks at a project with complete surprise and exclaims that they would have never thought they could do it? I love it when that happens!
Go have some crafty fun and thanks for stopping by today.

Thankyou so much for this project and all the different approaches to it. I will definitely be doing this with my groups.
ReplyDelete